
3295 Cobb International Blvd. Kennesaw, GA 30152 800-367-1377 sale@patiostools.com

Product Variation:

7 Tips for Choosing a Meter to Measure Humidity

A reliable Meter To Measure Humidity can help protect stored materials, steady a greenhouse, or reveal why a room feels damp. Yet choosing one by price or display alone can mislead. A reading of 65% relative humidity may be useful in a greenhouse, but only if the instrument suits the temperature, range, and conditions there. Small details matter.

Lord Kelvin, a physicist and measurement pioneer, offered a useful reminder: “When you can measure what you are speaking about, and express it in numbers, you know something about it.” He was not a humidity-meter specialist, so his words are a general measurement principle, not a product recommendation. Still, they point to the right questions: How accurate is the meter? How quickly does it respond? Can it be calibrated, and does it record readings over time? A clear screen is handy. It is not proof of accuracy.

This guide explores seven practical checks, from sensor type and measurement range to calibration needs, data logging, and durability. Picture a meter beside a cool storage door: condensation, quick temperature changes, and a hard-to-read screen can all affect the decision. The best choice depends on where and how you will use it. Even a careful checklist cannot remove every uncertainty; that is worth remembering.
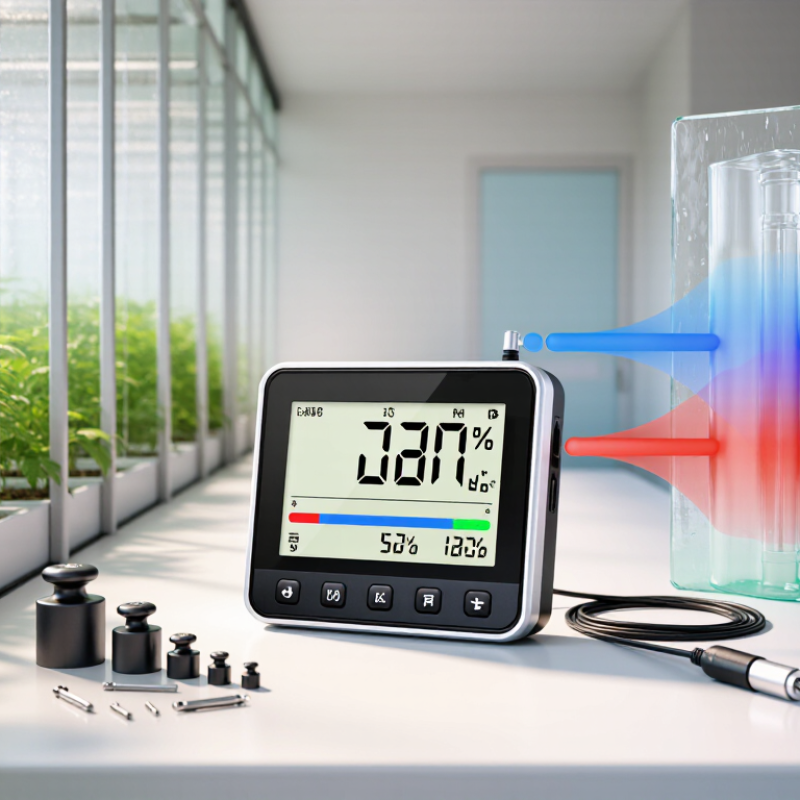
7 Tips for Choosing a Meter to Measure Humidity

Identify the Purpose and Conditions for Measuring Humidity

Before choosing a humidity meter, define what you need to learn. A greenhouse check, a damp basement inspection, and a material-drying process call for different measurement ranges and response times. Note the expected temperature, humidity, and whether readings must be taken in moving air or a confined space. Small details matter. A meter used near a cold window may show different conditions from one placed across the room.

Tip: Write down the measurement location and purpose before comparing instruments. For spot checks, a handheld meter may be practical. For ongoing monitoring, consider a model that records readings over time. Check the stated accuracy and operating range against your real conditions, not just typical room values. A probe can help reach ducts or enclosed areas, but its length and response time matter too. It is easy to focus on extra features and overlook placement.

Think about how often readings will be taken and who will interpret them. A clear display helps during quick inspections; data logging can reveal overnight moisture changes. If temperature varies, choose a meter that accounts for it or measure temperature separately. Follow the manufacturer’s calibration guidance and compare readings with a trusted reference when accuracy is important. No instrument removes every uncertainty. Record the location and conditions with each reading, since one number rarely tells the whole story.


7 Tips for Choosing a Meter to Measure Humidity

Tip 1: Identify the purpose and conditions for measuring humidity.

Illustrative example readings only—not target levels or universal conditions. Choose a meter suited to the expected humidity range, temperature, and environment, such as a bathroom, greenhouse, or storage area.

Set the Required Humidity Range and Accuracy

Before choosing a humidity meter, define the conditions it must measure. Record the lowest and highest expected relative humidity, not just the usual reading. A plant room might range from 35% on a dry morning to 80% after watering. A meter rated only for narrow conditions may give unreliable readings near its limits.

Set accuracy based on the decision you need to make. Keeping archival materials stable may call for tighter accuracy than checking general room comfort. Read the stated accuracy across the relevant range; a specification of ±3% RH means a displayed 50% could represent roughly 47% to 53%. Small differences matter. Resolution is different: a display showing tenths does not guarantee that level of accuracy.

Tip: Choose a meter whose measurement range extends beyond your expected conditions, with accuracy suited to your actual tolerance. Check whether the specification changes at high humidity or across temperatures. In practice, temperature shifts can affect readings, so note both values when comparing measurements. Calibration history also matters. A simple side-by-side check against a trusted reference can reveal drift, though it cannot replace proper calibration. I would not choose the most precise meter automatically; extra precision may add cost without improving the decision. Keep a small margin for seasonal changes, and revisit the range if the room’s use changes.

Compare Sensor Types and Measurement Methods

A humidity meter’s sensor type affects its range, response time, and care requirements. Capacitive sensors estimate relative humidity from changes in a moisture-sensitive material’s electrical properties. They are common in room meters and respond well to everyday humidity changes. Resistive sensors measure changes in electrical resistance as moisture interacts with a sensing layer. Their readings can be more affected by contamination or aging. That difference matters.

Some instruments use thermal conductivity to estimate water vapor in a gas. This method is more suited to controlled process measurements than ordinary room checks. The categories blur a little: a meter’s display may show relative humidity even when its internal method measures another property. Check what the specification actually reports. Not always.

Measurement methods also differ. A wet- and dry-bulb instrument compares two thermometer readings; evaporation cools the wet bulb, and airflow affects the result. A chilled-mirror instrument cools a surface until condensation appears, then uses that point to determine moisture. It can be highly precise, but needs careful handling and cleaning. For a bedroom or storage cabinet, a stable capacitive meter may be practical; for comparing readings, place it away from vents and let it settle. I would still question a reading that jumps sharply without a clear change in conditions.

Assess Calibration, Display, and Data-Logging Features

A humidity meter is only useful if its reading is trustworthy. Check the calibration record, not just the packaging. It should state when calibration occurred and, ideally, identify the reference method and measurement uncertainty. NIST Technical Note 1297 explains how measurement uncertainty should be evaluated and reported. Ask whether the meter can be checked near the humidity range you expect; a result at one point may not describe performance across the full range. Small detail. Big difference.

Read the display where you will actually use the meter: across a storage room, beside a greenhouse bench, or in a dim utility area. Large digits help, but so do clear units, a visible low-battery warning, and a stated accuracy. Resolution is not accuracy. A screen showing 0.1% increments can still be wrong by several percentage points. The U.S. Environmental Protection Agency’s A Brief Guide to Mold, Moisture and Your Home recommends keeping indoor relative humidity below 60%, ideally between 30% and 50%. That makes dependable readings near those levels especially useful.

For logging, look for timestamps, adjustable sampling intervals, enough memory, and a straightforward way to export records. A simple hourly log can reveal overnight rises that a quick glance misses. Check whether data remain intact after a battery change, too. I would not assume that every meter’s alarm or graph is meaningful without testing it against a known reference. Convenient features can distract from weak calibration. A tidy screen can still mislead.

7 Tips for Choosing a Meter to Measure Humidity - Assess Calibration, Display, and Data-Logging Features

Tip What to Assess Practical Selection Guidance Why It Matters
1. Check the stated accuracy Relative-humidity accuracy, measurement range, and any conditions attached to the accuracy specification. Compare the stated accuracy with the tolerance required for your application. For example, a specification of ±2 %RH means the reading may differ from the reference by up to 2 percentage points under the stated conditions. Accuracy can vary with humidity, temperature, and time since calibration; a single accuracy figure may not apply equally across the full operating range.
2. Assess calibration options Whether the meter can be adjusted or verified, and whether calibration records or certificates are available. Choose a calibration process appropriate to the required measurement confidence. Follow the instrument instructions and use a suitable reference or controlled humidity source; saturated salt solutions can provide humidity reference conditions when temperature is controlled. Regular verification can reveal sensor drift. The appropriate interval depends on the device, its use, and the consequences of an inaccurate reading.
3. Review the display Readability, displayed units, resolution, backlighting, and whether temperature is shown alongside relative humidity. Look for a clear %RH reading and, when useful, temperature in °C or °F. Check that the display is readable at the expected viewing distance and in the intended lighting. Resolution is the smallest displayed increment, not a guarantee of accuracy. A display showing tenths of a percent does not necessarily measure to that accuracy.
4. Match the operating range Specified humidity and temperature ranges, environmental limits, and any restrictions on use in condensation or dusty conditions. Confirm that both the expected humidity and temperature fall within the meter’s rated operating conditions. For challenging environments, review the sensor’s protection and stated environmental limits. Measurements outside rated conditions may be unreliable and can damage or shorten the life of the sensor.
5. Evaluate response time How quickly the sensor responds to a change in humidity, including the conditions used for the published response-time figure. Compare response time with how quickly conditions change in your application. Allow the probe or meter to equilibrate before relying on a reading, especially after moving it between environments. A slow response can make a reading lag behind actual conditions, even when the meter’s accuracy specification is suitable.
6. Check data logging Logging interval, storage capacity, export method, timestamps, and whether readings can be downloaded for review. Estimate the number of readings needed: storage required is approximately the logging duration divided by the logging interval. For example, recording every 10 minutes for 24 hours produces 144 readings. Logging helps identify trends and short-term changes. Confirm that the interval and storage capacity cover the entire monitoring period.
7. Consider probe and portability needs Integrated or remote sensor design, probe length, power source, durability, and ease of carrying or mounting. Choose a remote probe for measurements in hard-to-reach locations, or a compact integrated unit for quick spot checks. Check battery life and the available mounting or carrying options. The right physical design makes it easier to position the sensor correctly and take repeatable measurements in the intended location.

Choose a Meter Suited to the Measurement Environment

A humidity meter should match the place where you will use it, not just the number you hope to read. A living room, greenhouse, warehouse, and ventilation duct create different measurement challenges. Check the meter’s stated temperature and humidity range against actual conditions. Near a cold window, for example, temperature changes can affect relative humidity readings. In damp spaces, condensation may also harm sensors not designed for wet conditions. Small details matter.

Tip: Match the sensor to the setting. A meter with a separate probe can help reach inside a duct or storage cabinet without placing the display there. For outdoor checks, look for a unit rated for exposure to the weather. In a greenhouse, consider whether high humidity and rapid temperature swings fall within its operating limits. A fast response can be useful when conditions change quickly, but accuracy and stated range still deserve attention.

Think about how you will take readings. A handheld meter may suit spot checks, while a fixed monitor can track a room over time. Keep the sensor away from direct sunlight, heaters, vents, and misting nozzles; each can distort a local reading. I once trusted a single reading near a doorway, then found the room’s center was different. It was a useful reminder: location matters. Check calibration guidance, and compare readings periodically with a reliable reference if the measurement is important.