How to Use HVAC Pressure Gauges for Accurate Readings?
Accurate HVAC pressure readings begin with the right instruments, careful preparation, and a steady hand. HVAC pressure gauges help technicians compare system pressures with manufacturer specifications during installation, maintenance, and troubleshooting. However, a gauge reading is only useful when the connection is secure, the hoses are suitable, and the system has reached stable operating conditions.
Small details matter. Check the gauge set for damaged hoses, loose fittings, cloudy lenses, or a drifting needle. Confirm that the scale matches the refrigerant and expected pressure range. Wear appropriate personal protective equipment, and follow the equipment manual before opening any service port. A technician should also record outdoor temperature, indoor conditions, refrigerant type, and operating status. Those details make the reading easier to interpret later.
Do not trust one number blindly.
In practice, pressure can change while the compressor starts, stops, or unloads. Heat from a roof surface may also affect the result. Experienced technicians often allow the system to stabilize, observe both low- and high-side readings, and compare them with temperature measurements. Yet even careful work can contain mistakes. A hose may trap air, a probe may sit poorly, or a technician may read the wrong scale. Recognizing these weaknesses improves reliability. This guide explains how to use HVAC pressure gauges methodically, avoid common measurement errors, and make decisions supported by manufacturer data rather than guesswork. When readings remain unusual, consult a qualified HVAC professional instead of forcing an adjustment.
Select Gauges Rated for HVAC Service and ±1% Full-Scale Accuracy
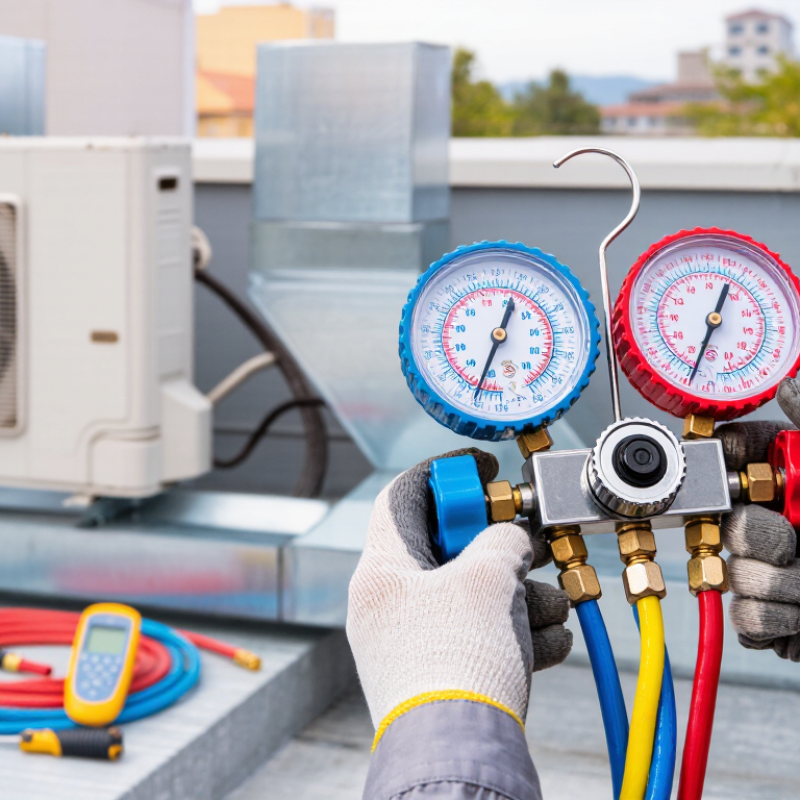
Accurate HVAC pressure readings begin with the gauge, not the technician’s guess. Select gauges specifically rated for HVAC service and compatible with the refrigerant being measured. The pressure range should match the system without keeping the needle near its limit. A gauge rated to ±1% of full scale offers dependable precision for service decisions.
This specification needs careful reading. A 500 psi gauge with ±1% full-scale accuracy may vary by ±5 psi across its range. That is not the same as ±1% of the displayed pressure. Smaller, correctly selected ranges can provide more useful resolution, provided system pressure remains safely within the scale. I have seen readings become misleading when technicians choose one oversized gauge for every task.
Keep the hoses short, clean, and tightly connected. Purge trapped air according to approved service procedures, then check whether the needle returns to zero after disconnecting. Temperature, vibration, and damaged seals can also distort results. I once trusted a stable-looking reading from a worn hose and had to repeat the diagnosis. That mistake was preventable.
Before use, compare the gauge with a calibrated reference when readings seem unusual. Record suction and discharge pressure with ambient temperature and operating conditions. These details help another technician verify the diagnosis. Wear suitable protective equipment, follow refrigerant-handling requirements, and never exceed the gauge’s rated pressure. Reliable measurements come from rated equipment, controlled technique, and a willingness to question convenient numbers.
HVAC Pressure Gauge Accuracy Verification
The chart compares reference pressure with gauge readings for a 500 psi full-scale HVAC service gauge.
A ±1% full-scale accuracy rating permits a maximum deviation of ±5 psi at every test point.
All example readings remain within this allowable limit.
Connect the Manifold Without Air Ingress or Pressure Loss
How to Use HVAC Pressure Gauges for Accurate Readings?
A reliable reading begins before the manifold touches the system. Inspect hose seals, valve cores, and threaded fittings for damage. Keep both manifold valves closed. Connect the low-side hose first, then attach the high-side hose carefully. Use hoses rated for the system’s pressure. A loose connection can admit air or release refrigerant. Both errors distort pressure-temperature comparisons.
Do not purge hoses by deliberately venting refrigerant. Use approved recovery or evacuation procedures instead. After connection, open each service valve slowly. This limits pressure shock and reduces turbulence inside the hoses. Keep the manifold above the hose connections when practical. Liquid refrigerant can otherwise collect near the gauge. Confirm the gauges return to zero before testing. A small offset matters.
ASHRAE Handbook—Refrigeration identifies non-condensable gases as a cause of abnormal condensing pressure and reduced system performance. The UNEP 2022 Refrigeration, Air-Conditioning and Heat Pumps Technical Options Committee Report projects cooling demand could more than triple by 2050. Accurate service work will matter more as systems become more common and more complex. I still find hose connection easy to rush. That is the weak point. Wait until pressures stabilize, then compare readings with the manufacturer’s pressure-temperature data and actual line temperature. Record ambient temperature, operating mode, and pressure together. One pressure number rarely tells the whole story.
Convert Pressure to Saturation Temperature Using the PT Chart
Accurate HVAC pressure readings begin before the gauge is connected.
Inspect the hoses, fittings, and valves for damage or leaks. Confirm the refrigerant type before opening the service port. A pressure-temperature chart is refrigerant-specific. Never use a generic chart. The gauge shows pressure, while the PT chart converts that pressure into saturation temperature. This relationship helps technicians evaluate system performance more reliably.
Connect the gauges carefully, then let the system operate under stable conditions. Record the pressure after the reading stops changing. Convert the gauge units when necessary, and locate the measured pressure on the correct PT chart. Follow the row to its matching saturation temperature. For blended refrigerants, check whether bubble-point or dew-point data applies. This detail affects charging and diagnosis. Compare saturation temperature with the actual pipe temperature to calculate superheat or subcooling. Keep hands clear of moving parts and wear suitable protective equipment.
Field conditions can distort a reading.
Outdoor temperature, airflow, and recent system adjustments matter. I sometimes record values too quickly, then need to repeat the measurement. That is worth admitting. A fluctuating pressure may require more stabilization time, not an immediate adjustment. Do not add or remove refrigerant based on pressure alone. Compare PT results with temperature readings, airflow, equipment specifications, and observed symptoms. Small details matter.
Confirm Evacuation at 500 Microns Before Final Pressure Testing
Accurate HVAC readings begin with a clean, calibrated micron gauge. Connect it directly to the system, away from the manifold and vacuum hose. After evacuation, confirm the display reaches 500 microns or lower. Then isolate the pump and watch the reading for several minutes. A rapid rise suggests moisture, trapped gas, a leaking connection, or an overlooked valve position. Do not mistake a fast pump-down for a dry system.
The U.S. EPA GreenChill Partnership has reported that supermarket refrigeration systems may lose about 25% of their refrigerant charge annually through leaks. That figure shows why evacuation and leak verification deserve patience. ASHRAE Standard 41.3 provides recognized guidance for pressure measurement methods, including proper instrument placement and evaluation. In field work, I have seen gauges display impressive numbers because a core tool was restricted. The reading looked perfect. It was not.
Tips: Warm the system slightly when safe, replace saturated vacuum oil, and use short, large-diameter hoses. Check the micron gauge against a known reference before service. After reaching 500 microns, perform a standing vacuum test and record the rise. A small increase may be acceptable, but a continuing climb needs investigation. I sometimes repeat the test twice; it feels slow, yet it prevents a rushed pressure test from hiding a weak connection.